
Little black dress looks perfect on you, but the little black lines on your copier screen look pretty annoying. But, this big problem has a simple solution. All you have to do is use a little amount of grease with small cleaning materials.
The dust and grime accumulated on your copier screen could cause annoying smudges, streaks, and black lines. This will result in smudged document scans or copies. You can fix this problem in just a few seconds. Some tips to fix copier block lines or dots are listed below.
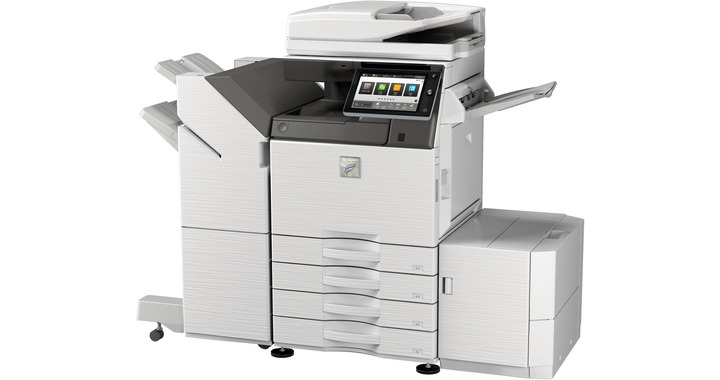
If you are in Lexington and you are looking for a Copier in Lexington for your business, you may contact Clear Choice Technical Services in Lexington. You can ask about Copier Leasing Services in Lexington, Copier rental services in Lexington, and Copier Repair in Lexington.
Clean the Glass Using the Right Cleaning Material
Take note that your copier screen is made with delicate materials. Thus, you also need to use gentle cleaning materials to avoid worse problems. In line with that, do not clean your copier screen with anything that contains carbon tetrachloride, ethyl alcohol, ammonia, benzene, acetone, and other abrasive materials.
In addition, make sure not to spray any water directly onto the screen, especially if the copier screen has minimal cracks. Instead, spray the water onto the smooth cloth and wipe the glass gently. After that, dry the screen using another clean cloth.
If cleaning the copier glass didn’t work, here are other ways to fix the copier black line problem.
- Cracks on your copier glass could also be the cause of black lines. Thus, check your copier for any possible glass damages or cracks. If you find one, you will need a professional to fix the problem.
- If the copier glass is crack-free, you may use a clean cloth to wipe off any deposited materials or spots present on the glass. Dirt and grime could also affect the print quality of your copier.
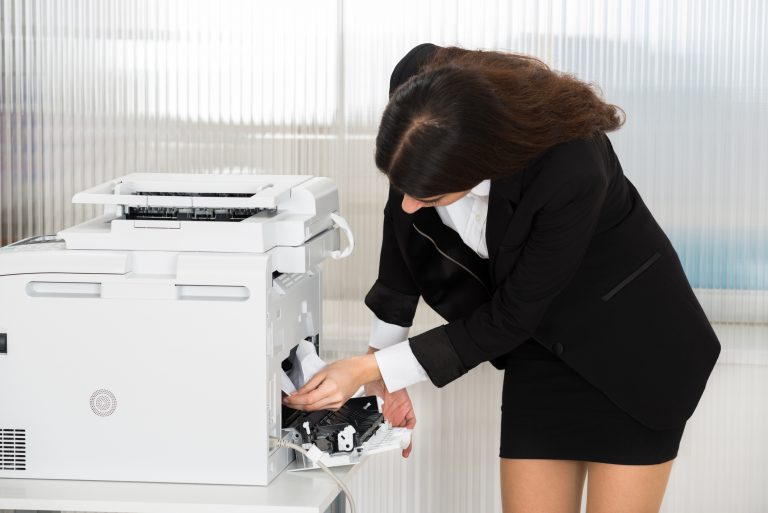
- Get the toner cartridge of the copier by opening its front panel. Clean the cartridge using a cloth. Use a compact vacuum to sift through any loose toner scattered in the area where the cartridge is present.
- Ensure that the interior part of the copier is free from any debris or loose toner using compressed air. Compressed air is ideal in removing unnecessary items in the hard-to-reach parts of the copier.
- Once you replace the toner cartridge, print a blank document. If the black lines are still there, it might be because of possible scratches, debris, or toner in the copier drum.
- To fix this, remove the cartridge and open the copier drum. Make sure that all bright lights are turned off. Using a soft and clean cloth, lift the copier drum from its place. Make sure not to use your bare hands to damage the drum.
- Check if the drum has scratches or cracks. If either of the two is present, you will need to purchase a copier drum replacement. Use compressed air to remove any debris and dirt present in the drum.
- Print another blank document once you replace the copier drum and toner cartridge. At this point, the document should not feature any black lines or unnecessary dots.
Conclusion
Even though your copier has the latest feature, there are times that it will show problems. One of the common issues with copiers is black lines or dots, called dark streaks. Streaks could result from several reasons, including dirty copier glass, malfunctioning drum, or scratched toner cartridge.
To prevent this from happening, you need to have a regular checkup. If there’s no chance of fixing the copier, you may need to buy or lease a new one. In that case, we can help. You can contact us for more details.